I get emails frequently asking me how to make sea moss gel, or whats the easiest way to make it. Luckily the process is pretty easy and can be done by anyone with a few items that you probably have around your house. In this post you are going to learn everything you need to know to make your own batch for friends and family.
What you need to make sea moss gel
To make sea moss gel you need the following:
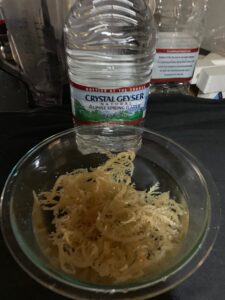
- Raw Sea Moss
- Large Glass Bowl
- 1 Gallon of Spring Water
- 1 Lime cut in half (optional)
- A Blender
- Mason Jars with air tight lids
What is Sea Moss
Sea moss/ Irish Moss or Chrondus crispus, while not a true moss , is a species of red algae that commonly grows around the rocky parts of North America and the Atlantic coast of europe.
It is rich is vitamins and minerals. The moss is filled with nutrient that are super important to the human body such as:
- iodine
- sulfur
- calcium
- bromine
- magnesium
- zinc
- protien
- Selenium
- beta carotene
- vitamin c
- phoshorus
just to name a few. You can read about additional benefits here.
How to clean sea moss
When you first receive your sea moss, you are going to notice a few things. The first is since its usually straight from the sea so more than likely you will get a whiff of a very aquatic smell. Upon visual inspection, you may notice that you can see actual salt, sand, and maybe evens some seashells on nestled in there. Since we are going to consume this, its mandatory that we clean it.
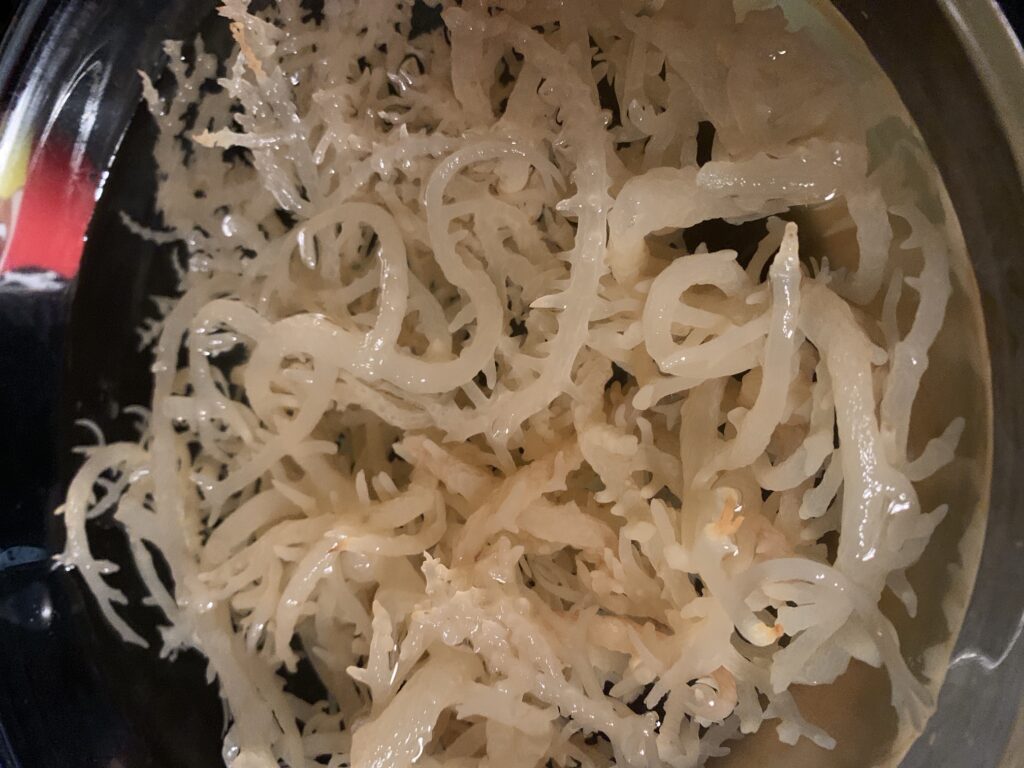
Now personally I like to place my glass bowl in the kitchen sink with the raw sea moss inside then run tap water over it as I massage all the debris off all the strands of sea moss. You will feel the grit on your hands as you do this. I do this for about 4-5 minutes occasionally dumping the bowl until it no longer feels dirty and the texture feels smooth and clean. The smell should be much less by now.
Preparing your moss
At this point you will probably see quite a bit of debris in your glass bowl so wash it off and put the sea moss back in. Now take your spring water and pour in enough to completely submerge it. Now cut your lime in half and put both halves in on each side of the bowl. The lime helps to neutralize some of the natural sea smell. Now its time to let it soak. Find a cool dark place to let the it soak for 24 hours.
Soaking your sea moss
Soaking it causes it to lightly expand so the next day you should notice a difference in size. 24 hours later the sea moss will also be noticeably softer to the touch this is what you want. Now its time to dump out the water and get your blender ready.
Blending up your gel
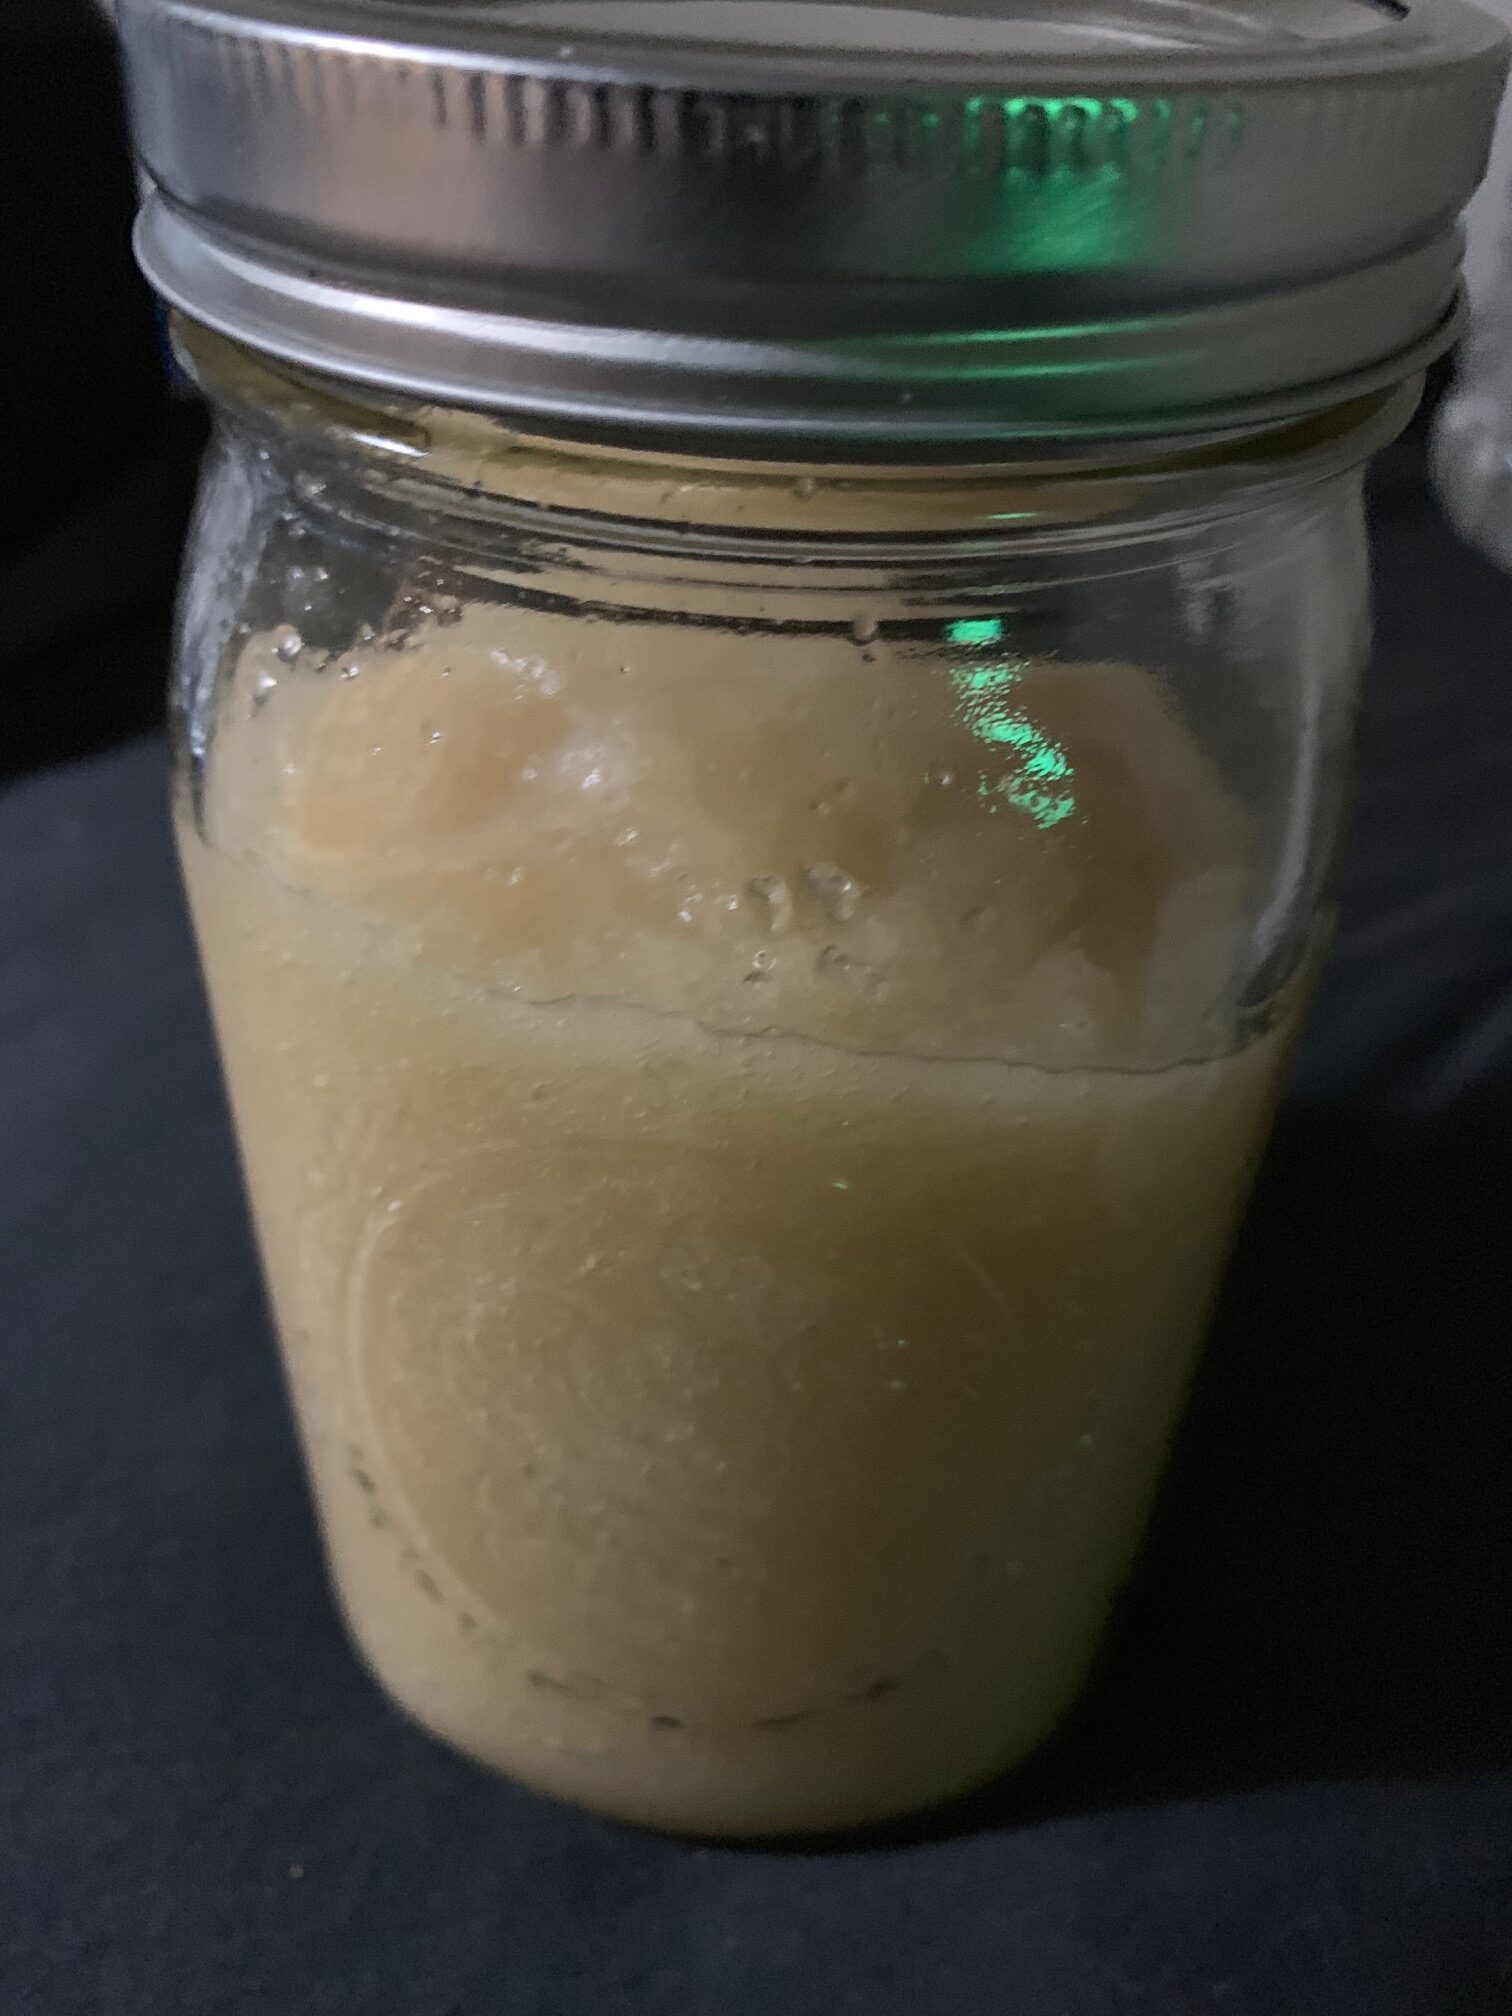
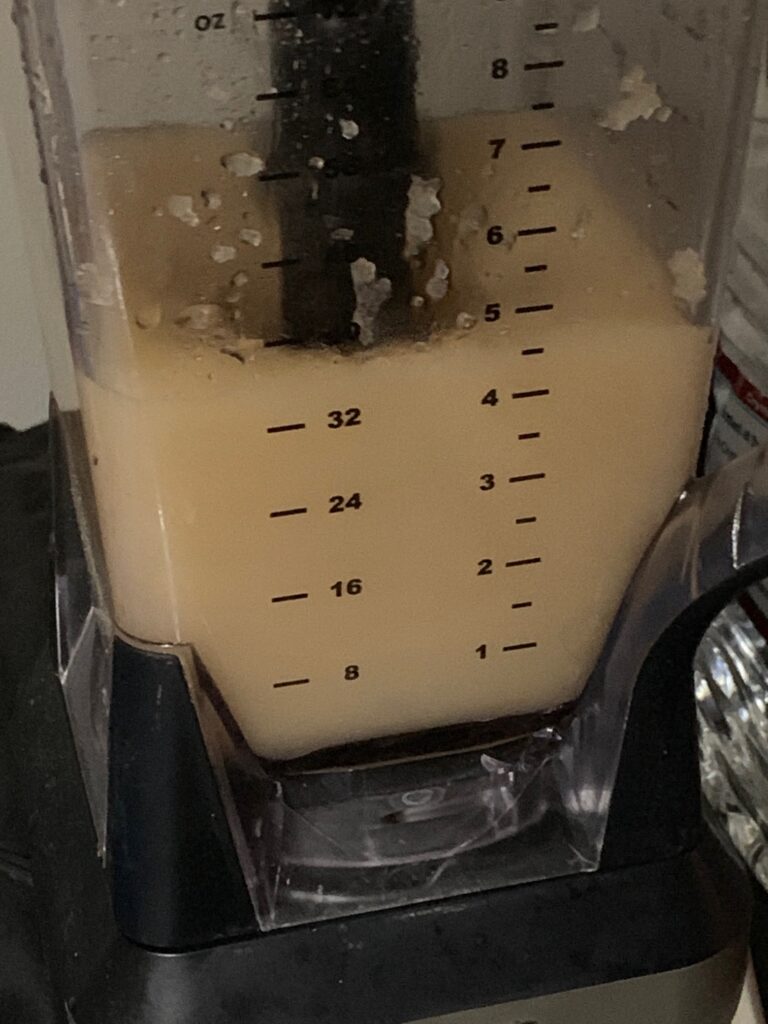
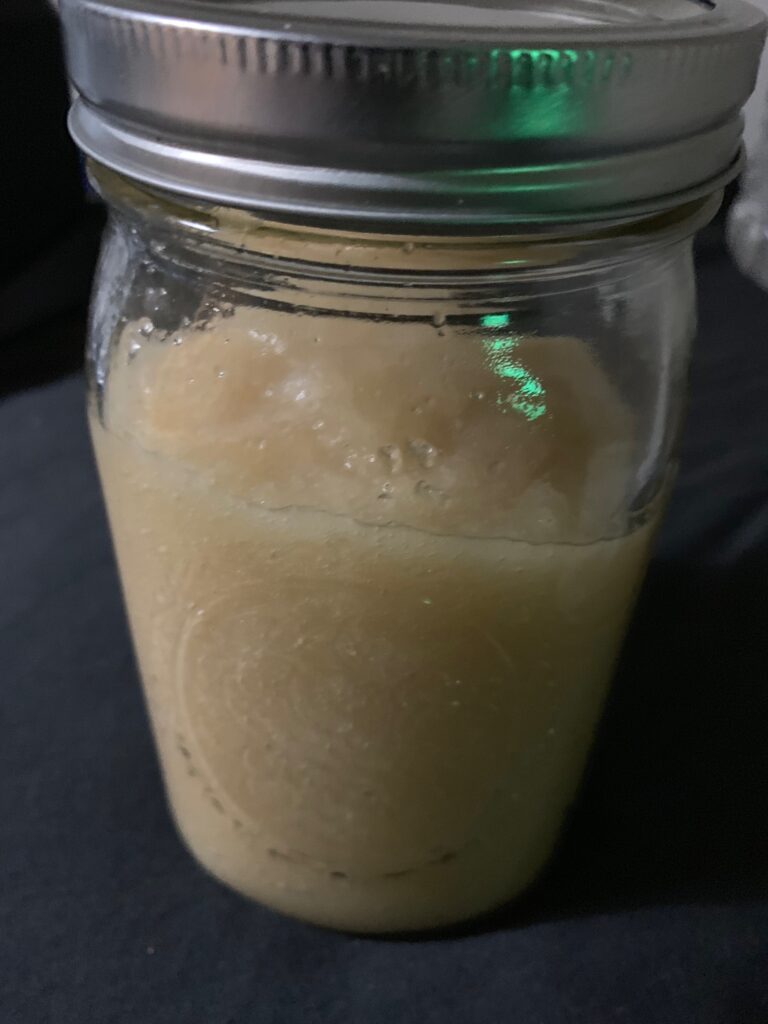
Now its time to mix up your gel. I find 2 cups of spring water per 1 cup of raw sea moss gives a great consistency but it really comes down to preference. The preferred consistency will be similar to apple sauce. You can use more or less water depending on how thick you like it. Blend for 2 minutes if its too thick for you add a little bit of water and blend for another minute until you are satisfied.
Now pour your gel into your air tight mason jar and refrigerate. You might be wondering how long does the gel last? If refrigerated it should be good for up to 3 weeks although we personally go through a jar in a week with a family of 2 with 1 serving per day.
How does it taste?
Another common question people ask is how does it taste. To be honest, to me it doesn’t really taste like anything but it does have a faint smell that is not the most appetizing. I do find its very easy to mask this by simply mixing it with your meals or smoothies. When consumed with other foods i rarely notice it.
How long does sea moss gel last?
As with anything you want to keep an eye out for signs of it going bad. Generally speaking, if kept refrigerated in a mason jar sea moss gel should be good up to three weeks however if you are consuming it daily it should not last that long especially if you are sharing with other family members.
Now you know how to make sea moss gel like a pro so you can start adding it all your favorite recipes. If you want to buy sea moss you can find some here.

